The Process
Arqspin and its cloud-based software will help you to break down this once complicated procedure into four easy-to-follow steps.
Need Equipment?
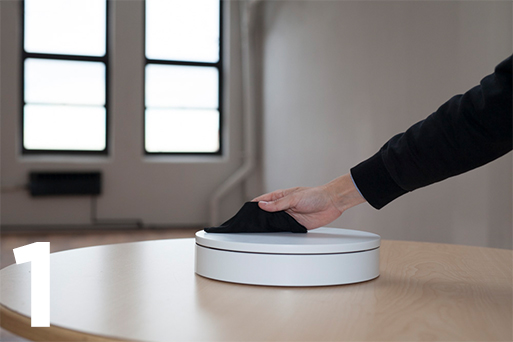
Clean Your setup
Any marks or residue on your turntable, backdrop, or the product itself can destroy the illusion of the 360 degree image. Pay close attention to keeping all surfaces clean before shooting.
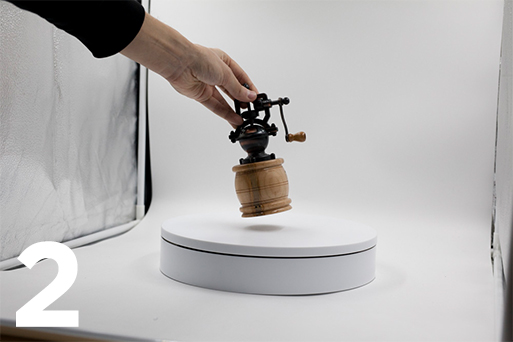
Center the Product
Once everything is ready to roll, find the center of the turntable and place your product accordingly. Although minor centering discrepancies can be fixed in Arqspin’s editor later, a centered product will save time and make lining up your shots a breeze!
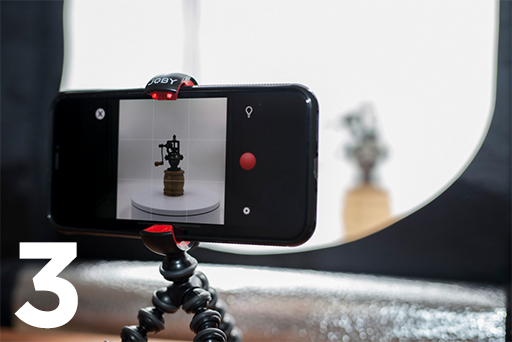
Adjust Your Camera Angle
Using a DSLR or native iPhone camera app for highest quality results, position your camera and tripod to use up as much of the camera frame as possible – this will maximize your resolution. If possible, avoid capturing areas outside your turntable and backdrop that will need to be edited out later.
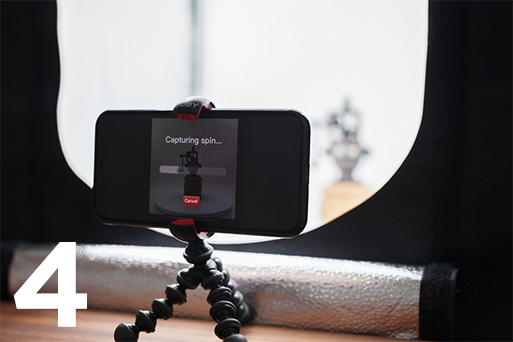
Capture
With the product now aligned and the lighting perfect, simply record a movie of your object making a little more than one full 360 degree turn (1.5 rotations is perfect).
5. Edit and Publish
Once you achieve the 360° image you’re looking for, it’s time to refine the details. Simply share the image to your Arqspin account for desktop editing, then follow these three key steps to complete the 360° illusion using Arqspin’s cloud based editing software.

Cropping – Remove the edges of the turntable or any shadows that made their way into the final 360° photo.

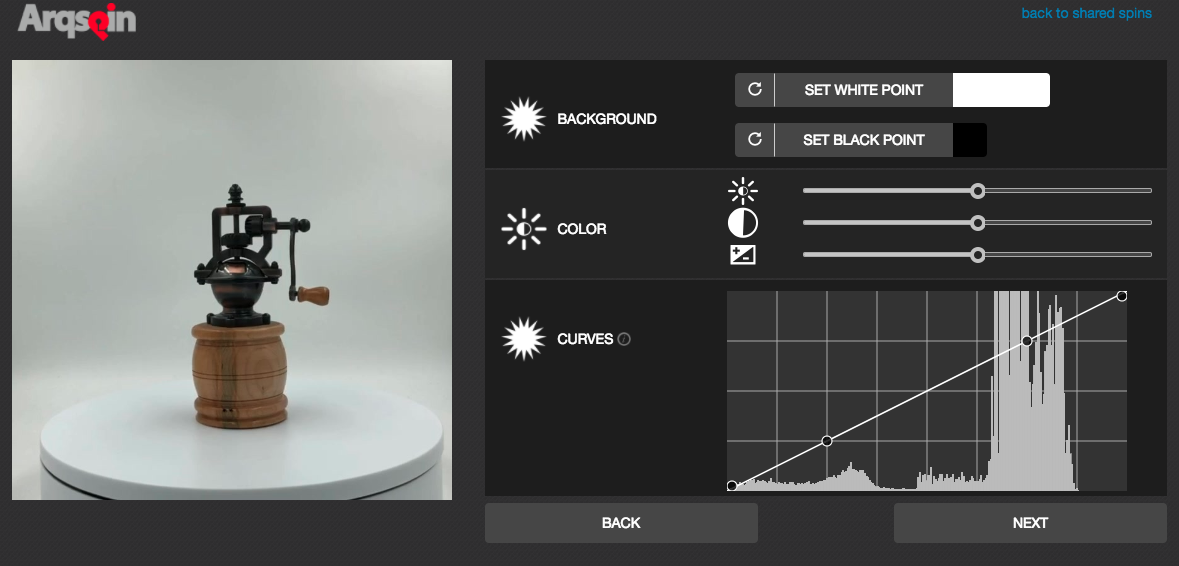
Setting the White Point –
Defining the white point of the image is the
trick to smoothing the surfaces of the
turntable and the backdrop and make the
360°
image appear as if it’s floating. Use the white
point tool to indicate the area of the image
that is the brightest color white.

Adjusting the White Balance – In the event that the white point tool doesn’t create a perfectly seamless white backdrop or some product details aren’t clear enough, use the desktop Color Curves editor to adjust your the colors of your spin down to the pixel for the perfect 360° product illusion!
That’s It!
Follow these steps you’ll be creating beautiful 360 degree images in a matter of minutes. It’s time to export, embed, and engage! For more in-depth guidance on the 360 product photography process, visit our Video tutorials pages.
1. Studio Set Up & Spin Capture
2. Editing & Managing Spins
3. Sharing & Embedding Spins
The Equipment
It all starts with the gear. The right equipment can turn your 360 degree photography operation into a streamlined, quality process.