A few months ago, we published an article entitled “Taking Gorgeous Product Photos” on Practical E-Commerce that contained some general product photography tips. That article helps with an overview on how to select and utilize the basic equipment needed to take high quality product photography. If you haven’t read it yet, you should take a look.
Soon, we’ll be posting a basic follow-up guide on this blog as well. But before that, we wanted to pass along a few tips for those who already have the majority of the hardware they need but might still feel like their product photography is falling short.
Is that you? If so, here’s seven things to consider.
Tip #1: Light Your Backdrop
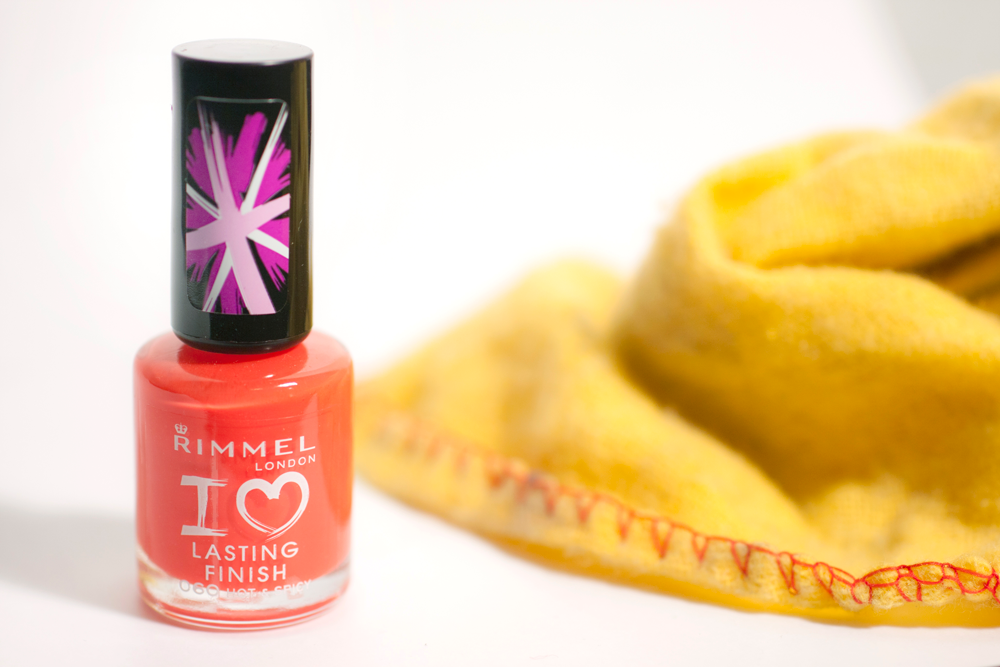
For most product shots (and 360 spins in particular), you will want a clean white background that makes the object appear as if it is floating. For a backdrop, you can purchase a professional screen or even just get a large white sheet of paper from the craft store.
But the key is to ensure that you have light directed at the backdrop itself. Most people spend their time trying to light the object, but they forget about lighting the backdrop, which can also improve quality.
Lighting the backdrop will make it much easier to create that pure white effect and will allow you to spend less time editing your final images.
Tip #2: Use Diffusion

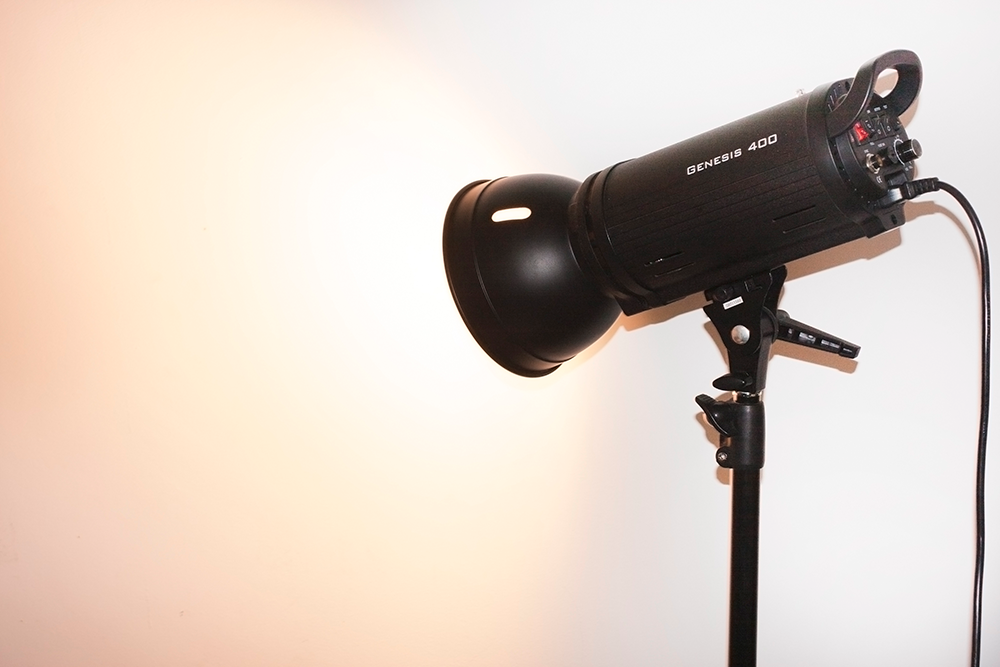
Just as direct, midday sun is harsh, so is light from a bare bulb. “Diffusion” is the act of spreading out the light from your light source. Think of your “diffusor” (the material you use to diffuse the light) like clouds in the sky — it scatters the light so that it appears softer and larger.
By softening your light source, you will reduce strong shadows and hotspots.
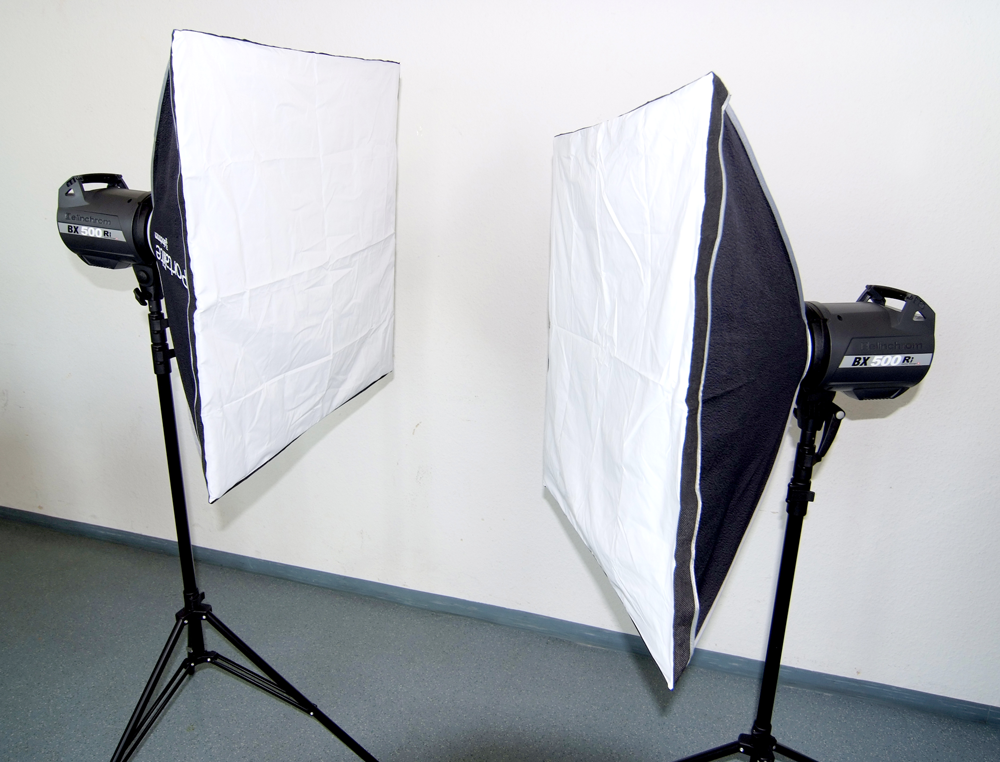
Diffusion material can be almost anything that is translucent and white, like cloth or tracing paper. If you have a set of professional lights, then you might consider buying a ‘soft-box’ to attach on the front. If you’re using normal lamps or other bulbs then you can set up a rig to hang your diffusion material in front of them.
Tip #3: Set White Balance Manually

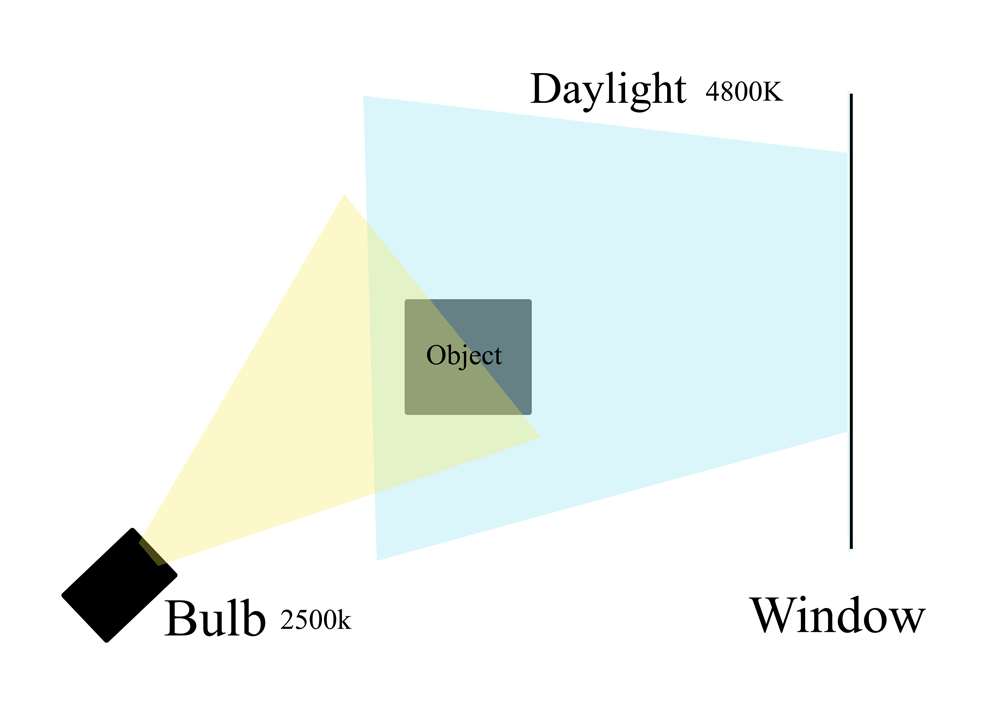
There are differences between different types of lights, and these differences are often not very noticeable to the human eye. Daylight, room lights, fluorescent lights – they all have different “temperatures” which can cast different tinges onto the objects you photograph.
For example, flourscent lighting adds a bluish ting to photos. Incandescent bulbs add a yellowish tinge to photos.
“White balance” is the process of removing these color casts. Your digital camera may have the ability to set white balance automatically, but it’s better to set it manually. Your camera will have a set of options: Tungsten, Daylight, Flourescent, etc. Use your white background in the image as a guide and make adjustments to the settings until it appears pure.
Tip #4: Don’t Mix Different Types of Light
As explained above in Tip #4, different kinds of light have different temperatures and can cast different colors when photographed. For this reason, it’s particularly important that you don’t mix different kinds of light. It will make adjusting the white balance much harder, if not impossible.
Tip #5: Shoot in a White Room
Even if you have a white background, it’s possible that light from a nearby colored wall could be cast onto your item. For this reason, it’s best to be in a completely white room.
White walls will also help bounce the light around, better illuminating your item and reducing harsh shadows. A white room will particularly help when photographing reflective or shiny surfaces.
Tip #6: Don’t use just the built-in flash
Using only the flash built into your camera (the one that “pops up”) is probably the most common cause of bad product photography. While these flashes can be good to trigger a set of professional lights, using them alone creates harsh light that will cause your final image to have unflattering shadows and hotspots.
Tip #7: Don’t Rush
It’s natural to want to do things quickly, but in product photography, patience can have a significant impact on quality. Ensure you have the right equipment. Double check that you have set it up properly. And spend a few minutes to make sure your products are clean (watch out for finger prints!).
Summary
We know that at first, product photography can be difficult and time consuming. It’s tempting to just throw up your hands in defeat. We also know how hard it is to deal with customer service, manage your supply chain, and ensure product quality. We have to do it ourselves.
But if you introduce these tips one at a time, you’ll begin to see dramatic improvements in the quality of your photography and as a result, dramatic improvements in sales and customer satisfaction.
When a customer calls in and says: “Wow, that item looks beautiful. Are there any in stock?”
You’ll be able to smile into the phone and think to yourself:
“I did that.”
Getting good at taking static product photography? Consider Arqspin, the interactive 360 product photography solution that will take your e-commerce store to the next level.